Syncthing ENG
Step 1 – Add Syncthing repo to apt sources
Firstly, let’s add the repository to our apt database to ensure that we can download the packages from the repo:
echo "deb https://apt.syncthing.net/ syncthing stable" | sudo tee /etc/apt/sources.list.d/syncthing.list

Step 2 – Add Syncthing’s PGP keys
Next, we will add the Syncthing repository’s PGP key to our apt keys using the following command:
curl -s https://syncthing.net/release-key.txt | sudo apt-key add
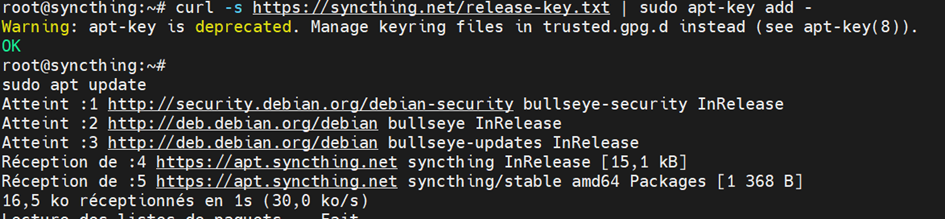
Step 3 – Update apt’s database
Then we use the apt command to update the repositories so we can get the latest packages and dependencies:
sudo apt update

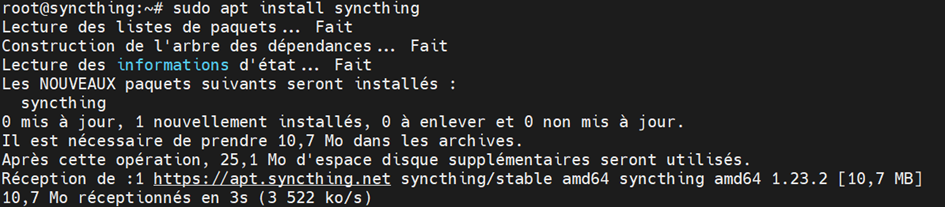
Step 4 – Install Syncthing
Once we are done with all the steps above, we can finally go ahead and install Syncthing. For that run the command :
sudo apt install syncthing
Step 5 – Enable the Syncthing service
To enable syncthing type the following command replacing username with your actual username:
sudo systemctl enable syncthing@root.service

Now start the syncthing service using the systemctl command:
sudo systemctl start syncthing@root.service

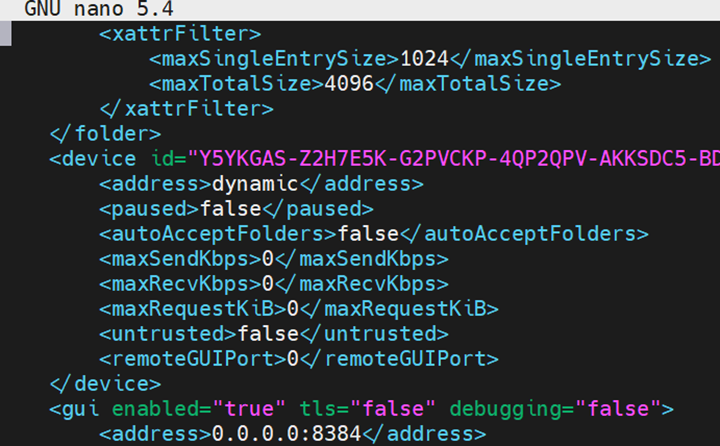
Step 6 Change IP address listening
syncthing -paths
cd .config/synthing
nano config.xml